
Analogue 1.5: Pro Capture Mode
Full sensor capture, true lens framing, more detail, and the same Analogue look. Now on non-Pro iPhones too.
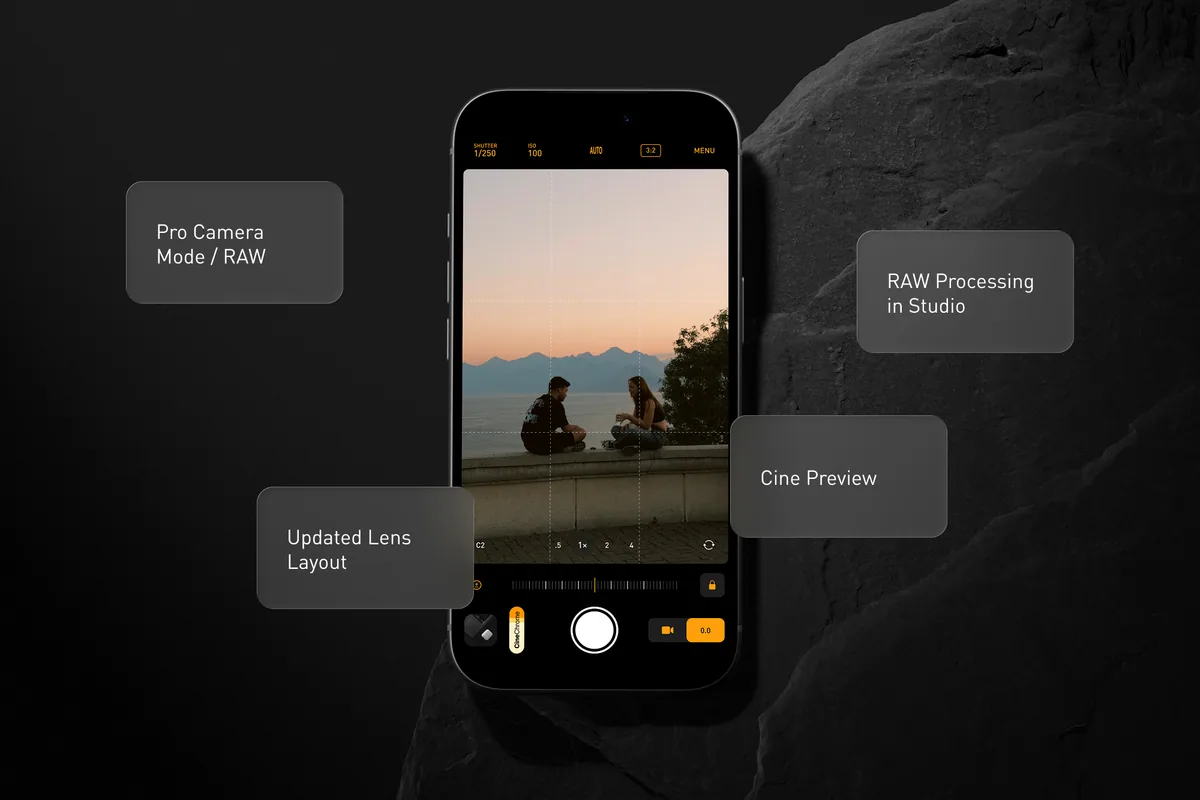
A few weeks ago, Analogue 1.5 launched with a number of new features and fixes. There is a rebuilt preview pipeline with significant performance improvements, shutter priority, and quite a bit more, but the headline is Pro Capture Mode and RAW processing.
I wanted to give people some time to use it before writing about it. Since launch, I’ve had a lot of helpful feedback and a number of conversations about why Analogue now captures RAW, what that means for Apple Log, and when you should actually use it.
So I wanted to answer those questions here, but also talk about how Pro Capture Mode came about and how RAW can give you more creative control without changing what Analogue is.
Is Analogue moving away from Apple Log?
Let’s start with the elephant in the room.
The short answer is no. Apple Log is still at the core of how Analogue works.
In Pro Capture Mode, the RAW image data is converted to Apple Log before any preset adjustments are applied. From that point onwards, it follows the same processing pipeline as a photo captured directly in Apple Log.
That conversion is what gives Pro Capture Mode parity with video. Photos and videos can share the same processing and colour, and RAW captures can use the same Fujifilm Film Simulations, custom LUTs and grain.
What changes is the amount of information available before that processing begins. RAW gives Analogue more detail, the full sensor area, and more flexibility over exposure and white balance than Apple Log alone can provide.
Same processing, more detail and more control.
Why the preview matters
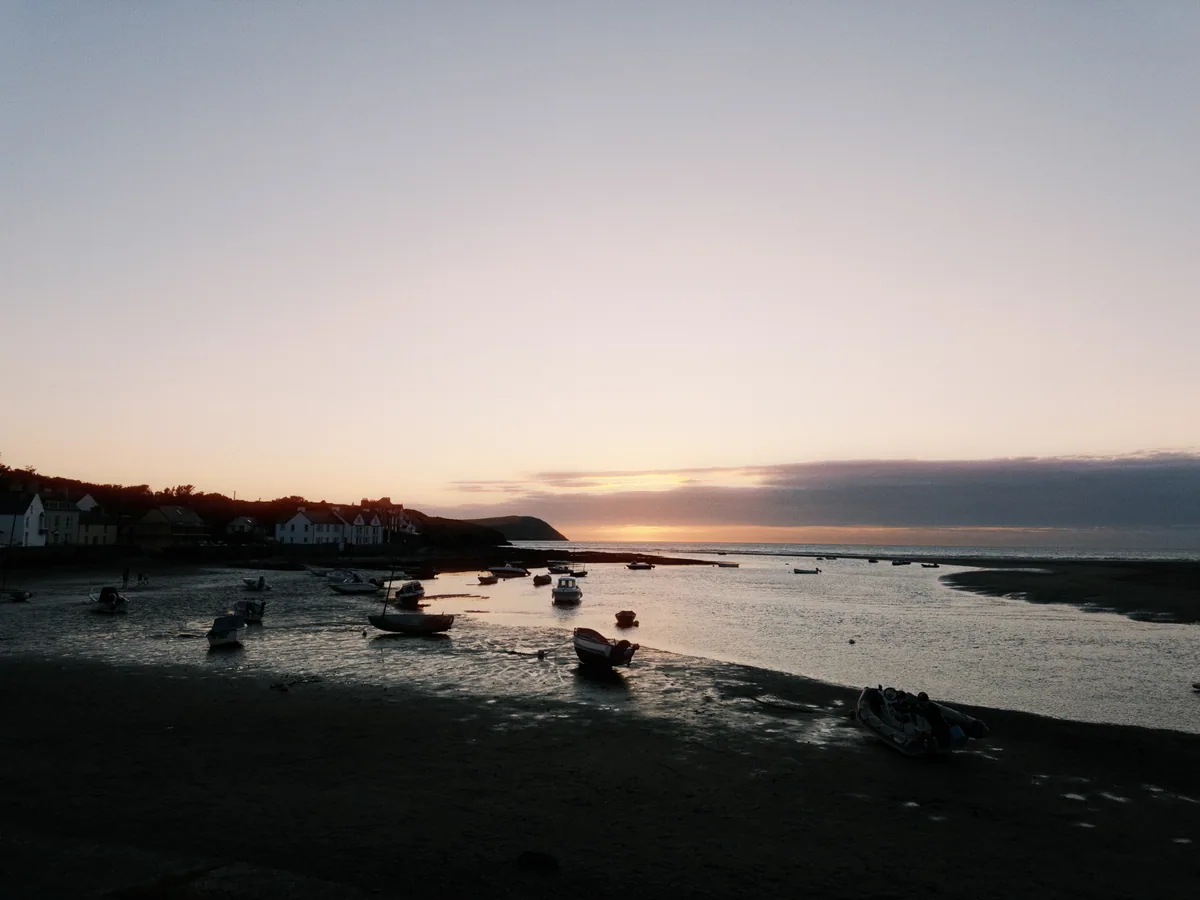
My goal with Analogue from day one was to make iPhone photos feel less digital and show an accurate preview of the final image.
I wrote more about this in Building Analogue, but the preview changes the experience of taking a photo. When the scene already looks right on screen, it makes me want to explore more, try a different angle and keep shooting.
To some people, the preview probably doesn’t matter that much. I see it differently. I like to think of it as part of the creative process, not just a way to frame the shot. It can make the difference between continuing to work a scene and putting the camera away because what I see isn’t how I imagined it.
I might even go as far as saying that the preview is sometimes more important than the final output.
Thanks, Fujifilm, for ruining every other camera for me.
This is where Apple Log has always been so important to Analogue. It doesn’t just provide the source for the finished photo; it also makes it possible to see that finished look live in the viewfinder. Without the heavy tone mapping and sharpening of the standard camera pipeline, Analogue has a clean image it can process before you press the shutter. You can frame the photo, see how it will look and then capture it.
But it also comes with a few trade-offs.
From Open Gate to Pro Capture Mode
Earlier this year, I added Open Gate video to Analogue. I quickly started to enjoy the full 4:3 frame and the wider 24mm perspective, and used it a lot for video.
At one point I considered whether it would make sense to add Open Gate to photos too. The problem is that Open Gate Apple Log is currently only available in HD, which gives you around 2.7MP. A 16:9 frame captured from 4K Apple Log is around 8MP.
My focus with Analogue has never been resolution. The hint is probably in the name. But 2.7MP feels too small by today’s standards.
For a long time, I hoped Apple would introduce Apple Log at a higher Open Gate resolution. I’m fairly sure that will happen eventually, but I got a little impatient.
That made me ask a different question: could Apple Log continue to drive the preview while the photo itself was captured another way?
The combination of Apple Log and RAW felt like the dream. Apple Log could preserve the accurate, finished preview that makes Analogue enjoyable to shoot with, while RAW could provide the full frame, detail and flexibility that the final photo deserves.
This became the basis for Cine Preview, an optional hybrid inside Pro Capture Mode. It isn’t the default preview because switching between Apple Log and photo capture adds a delay. The standard preview works differently and is much faster, but I’ll come back to that below.
Whichever preview you choose, the final capture is the same: a Bayer RAW photo from the full 4:3 sensor.
The histogram is your friend
Over the summer, I also found myself relying more on the histogram.
An accurate preview is incredibly useful, but outside in direct sunlight it can still be difficult to judge the screen properly. The histogram became another way to think about the image. If I was taking a bright photo at the beach, I might let it lean towards the right. If I wanted something darker and moodier, I would let it sit further towards the left.
If anyone ever decides to make an EVF for the iPhone, please get in touch.
It sounds like a small thing, but it also changed how I thought about the trade-off behind Pro Capture Mode. If the preview could show the overall look and composition, and the histogram could guide the exposure when the screen was difficult to judge, the captured file could focus on preserving as much information as possible.
That made RAW feel like a much more natural fit for Analogue. I had never been against it; I just didn’t want RAW to mean giving up the finished viewfinder experience I cared about most. Pro Capture Mode could keep that experience while changing what happened when the shutter was pressed.
What Pro Capture Mode changes
Pro Capture Mode captures a Bayer RAW photo directly from the sensor.
That means you get the full 4:3 frame, with each lens at its true field of view rather than cropped from a 16:9 Apple Log image. You also get more detail, more highlight information and a DNG master that you can return to later.
Flash is supported too.
The RAW image is then decoded and converted to Apple Log before your chosen look is applied.
The look doesn’t change. The source does.
Saving works much the same as before. With Save Processed and Save as editable file turned on, you still get a multi-layer HEIC containing the finished photo and the Apple Log image. In Pro Capture Mode, that adds around 2MB per photo, compared with around 500KB when using Cine capture.
Preview vs Cine Preview
By default, Pro Capture Mode uses the standard photo preview and applies your Analogue look to it live. It is very close to the final result, although it isn’t an exact match. The shutter responds immediately and the RAW file continues processing after capture, which makes this preview much better for people, movement and everyday photography.
If you want the Apple Log preview, you can turn on Cine Preview.
Cine Preview is a hybrid. Apple Log drives the viewfinder, so you see the same image that Analogue normally uses for its final processing. When you press the shutter, the camera switches to photo mode and captures the full RAW file.
That switch introduces a noticeable delay. It isn’t something I would use for a moving subject, but for a more deliberate frame it gives you both the accurate Apple Log preview and the full RAW capture.
RAW processing in Studio
The other big advantage of Pro Capture Mode appears after you take the photo.
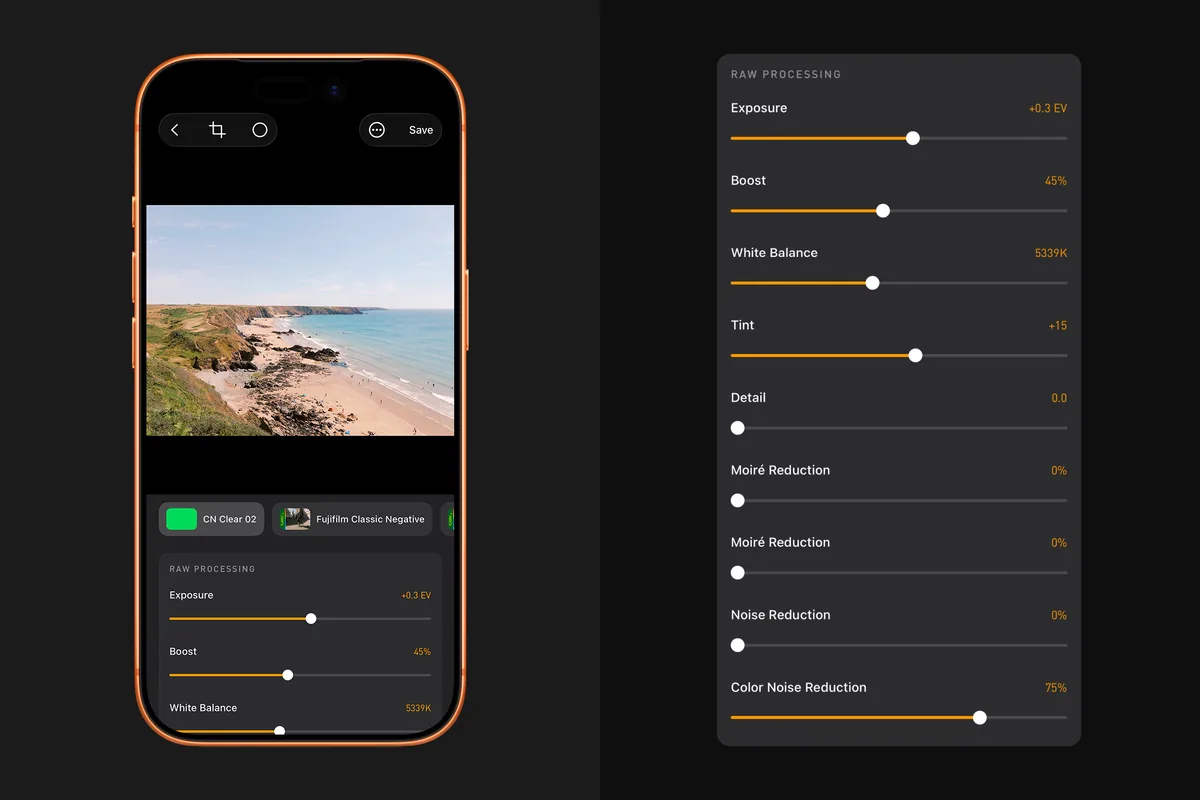
Every DNG can be opened and reprocessed in Studio. You can adjust exposure, boost, white balance, tint and noise reduction, then apply any of your Analogue looks.
These adjustments are applied directly to the RAW image rather than placed on top of a finished photo. You can recover highlights, change the white balance or take the image in a completely different direction a week later. Once you’re happy with it, the image is converted to Apple Log and your chosen look is applied.
This is where RAW becomes more than a way to get a larger file. It gives you more room to make creative decisions, both while taking the photo and afterwards.
Which capture mode should you use?
Apple Log capture is still the default, and for good reason. The files are smaller and ready almost immediately. For most photos, most of the time, it is still how I shoot.
Pro Capture Mode is there for the photos you want a little more from. A difficult lighting situation, a deliberate frame, something you might print or an image you know you will want to revisit later.
With the standard preview, the shutter still responds immediately, but the RAW photo takes longer to finish processing and the files are larger. It isn’t necessary for every photo, and it isn’t meant to replace Apple Log capture.
It is simply another option.
Analogue on non-Pro iPhones
Capturing Apple Log directly requires a Pro iPhone. Capturing Bayer RAW doesn’t.
Because Pro Capture Mode creates its own Apple Log image from the DNG, the full Analogue processing pipeline can now run on non-Pro iPhones. The same looks, film simulations, grain and Studio processing are all there.
Apple Log video remains exclusive to supported Pro models because it relies on Apple’s Log capture, but Analogue is no longer an app only for the Pro lineup.
Pro Capture Mode took a long time to get right, and I’m grateful to everyone who tested it before launch and to everyone who has sent feedback since.
As always, feedback is very welcome. Onwards and upwards.